Everything You Need to Know About Tape-In Hair Extensions
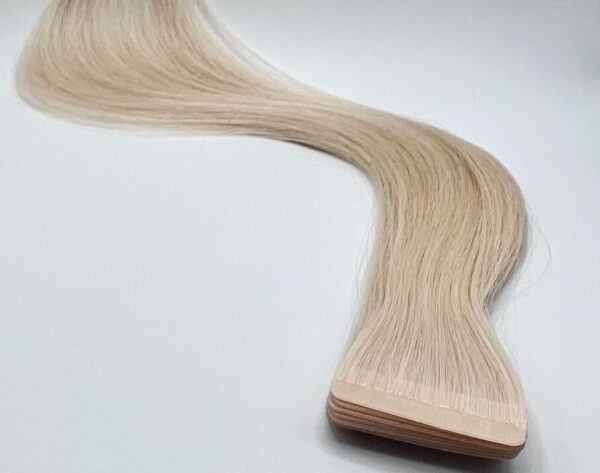
If you’re looking to add length and volume to your hair, tape-in hair extensions are a great option. They’re easy to install, remove, and maintain, and they can last up to several months with proper care. At Marlena Hair Studio, I offer professional tape-in hair extension services that will leave you with gorgeous, blended-looking hair. In this blog post, I will discuss how I install, remove and maintain tape-in hair extensions with my customers and why you should consider getting this service done at my salon.
Installing Tape-In Hair Extensions
The installation process for tape-in hair extensions is relatively simple and can be done in about 1 hour, depending on the amount of hair added.
Here’s how the tape-in hair extensions installation process works:
- Consultation: First, you’ll have a consultation with me to discuss your desired length and shade.
- Preparation: On the day of your appointment, we’ll start by preparing the hair for installation by washing and blow-drying your hair. This ensures that the extensions will bond properly and last longer.
- Application: I will section your hair into small sections and apply a thin piece of double-sided tape to the base of each section. I will then sandwich a similar-sized piece of extension hair between the tape, creating a seamless look.
- Blending: After all the extensions have been applied, I then blend them with your natural hair using a razor or scissors. This will ensure that the extensions blend in seamlessly with your hair, and no one will be able to tell you’re wearing extensions.
Removing Tape-In Hair Extensions
When it’s that 6-8 week mark to remove your tape-in hair extensions, it’s essential to do it correctly to avoid damaging your natural hair. Here at my hair extensions studio, I use a special adhesive remover that safely breaks down the tape, making removal easy and painless.
Here’s how the tape-in hair extensions removal process works:
- Preparation: I will start by applying the adhesive remover to the base of each extension, saturating the tape.
- Removal: Once the adhesive has dissolved, I will gently peel the extensions off your hair, starting from the top and working our way down.
- Washing: After all the extensions have been removed, I wash your hair to remove any remaining adhesive.
Maintaining Tape-In Hair Extensions
To ensure that your tape-in hair extensions last as long as possible, taking good care of them is essential.
Here are some tips to help you maintain your extensions:
- Brush your hair regularly: Use a soft-bristled brush to gently brush your hair, starting from the ends and working your way up.
- Avoid heat: Avoid using heat-styling tools like flat irons and curling irons as much as possible. If you do use them, be sure to use a heat-protectant spray.
- Wash your hair carefully: When washing your hair, be gentle and avoid rubbing the extensions too hard. Use a sulphate-free shampoo and conditioner to keep your extensions looking their best. Keep the conditioner away from the tabs.
Why Choose Marlena Hair Studio for Tape-In Hair Extensions
At my Hair Studio, I pride myself on providing my clients with the best possible service. I am trained in the latest techniques and have years of experience working with tape-in hair extensions. When you come to me for hair extensions, you can rest assured that you’re in good hands. I use only the highest quality remy hair extensions and adhesive, ensuring that your extensions will look and feel natural and last for a long time.
Conclusion
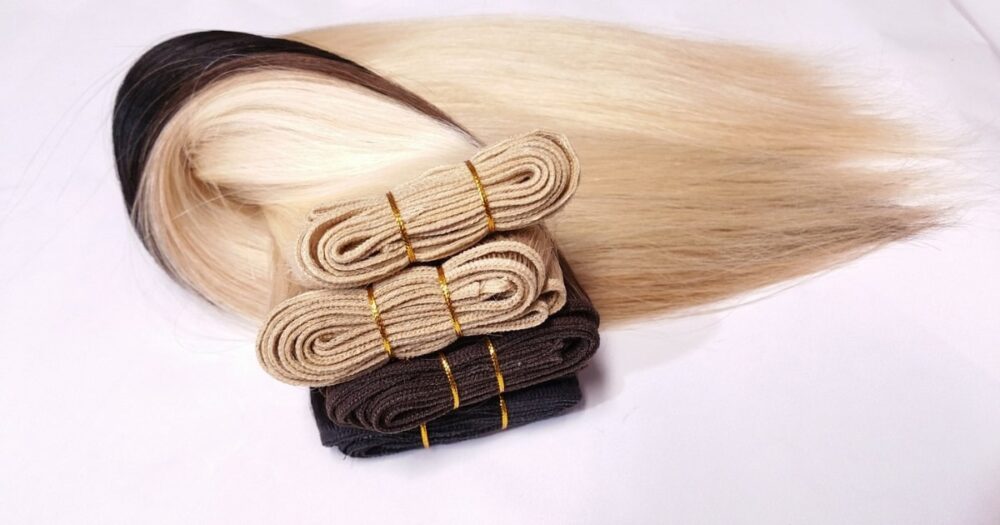
If you’re interested in getting tape-in hair extensions, why not consider our other hair extension services as well? I also offer clip-in and ponytails, which are great options for those who don’t want a semi-permanent solution.


